* We sometimes use affiliate links, so we may receive a commission, at no cost to you, if you make a purchase through a link. Check our disclosure for more info.
Quick and easy healthy chicken fingers made with real food ingredients. These can be made to any size you like, smaller for littler kids hands or chunkier for big kids and not only are they delicious with some fries and a pot of ketchup but they make a yummy next day cold lunch!
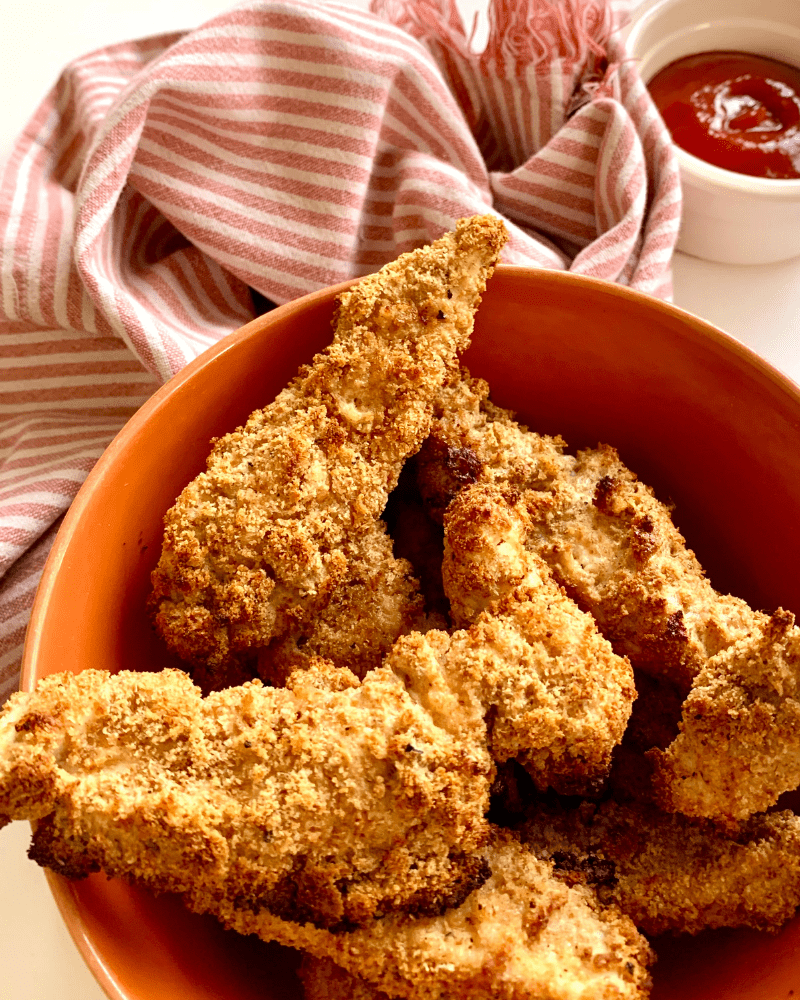
Healthy Chicken Fingers
Most parents who I speak to who are interested in making changes to their kids diets, Cleaning them up, tell me that chicken strips are one of the things their kids love and could never give up.
I get this totally, mine were exactly the same.
I’m talking about those frozen ones you buy to keep in the freezer that you just throw into a hot oven and boom! you’re done.
Kids seems to love these things, as do most of their parents!
Making these healthy chicken fingers was one of the first changes I made (along with switching to wholemeal pasta!) and they’re so easy.
The ones you buy frozen tend to be made with a whole long list of ingredients I don’t recognise, yet they don’t taste of much and can often be very bland.
These homemade ones are delicious.
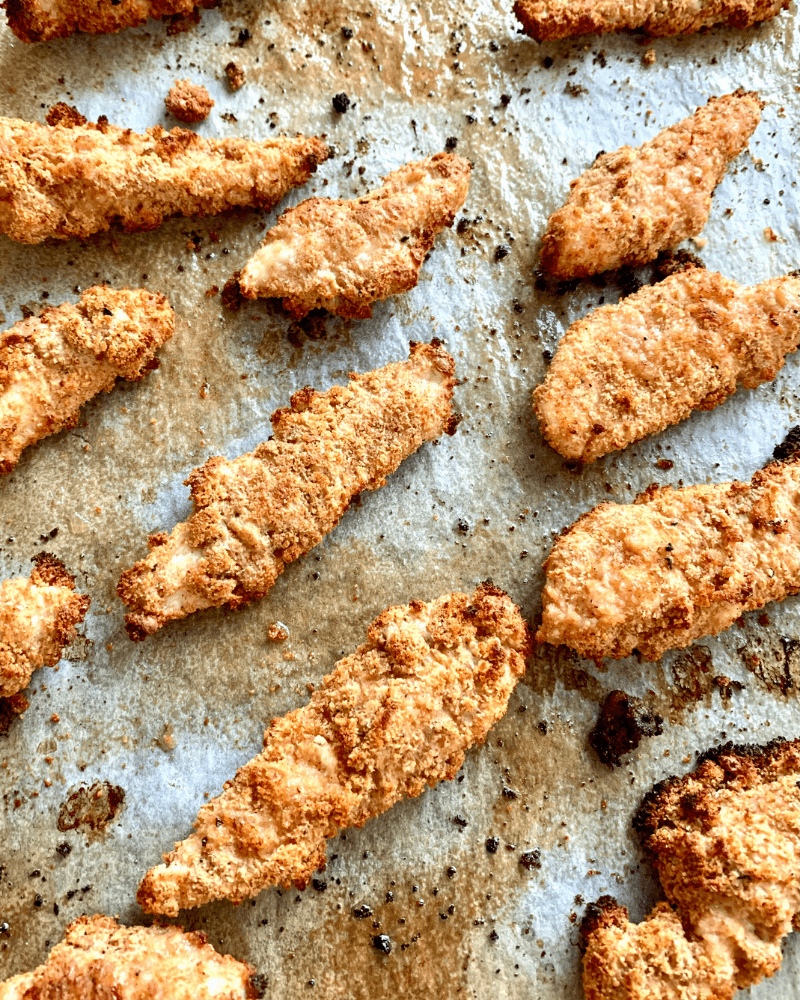
Made with real 100% chicken breast meat and wholemeal breadcrumbs, these are oven baked so you use less oil but you still get the crispy crunch of the breadcrumbs.
I make enough of these so the kids can have them for dinner and also the following day. These can go into lunchboxes and are lovely eaten cold.
More Healthy Chicken Recipes
- Crispy chicken tenders and fries
- Healthy chicken stroganoff
- Sheet pan Caprese chicken
- Clean eating chicken piccata
- Kids chicken curry
- Honey ginger chicken
Oven Baked Chicken Fingers
Where these chicken tenders are fried because they’re coated in cornflour for a crispier ‘batter’ like coating, this healthy chicken fingers recipe is baked in the oven. They’re covered in breadcrumbs and these do just as well in the oven, so I’ve oven baked these rather than fry them.
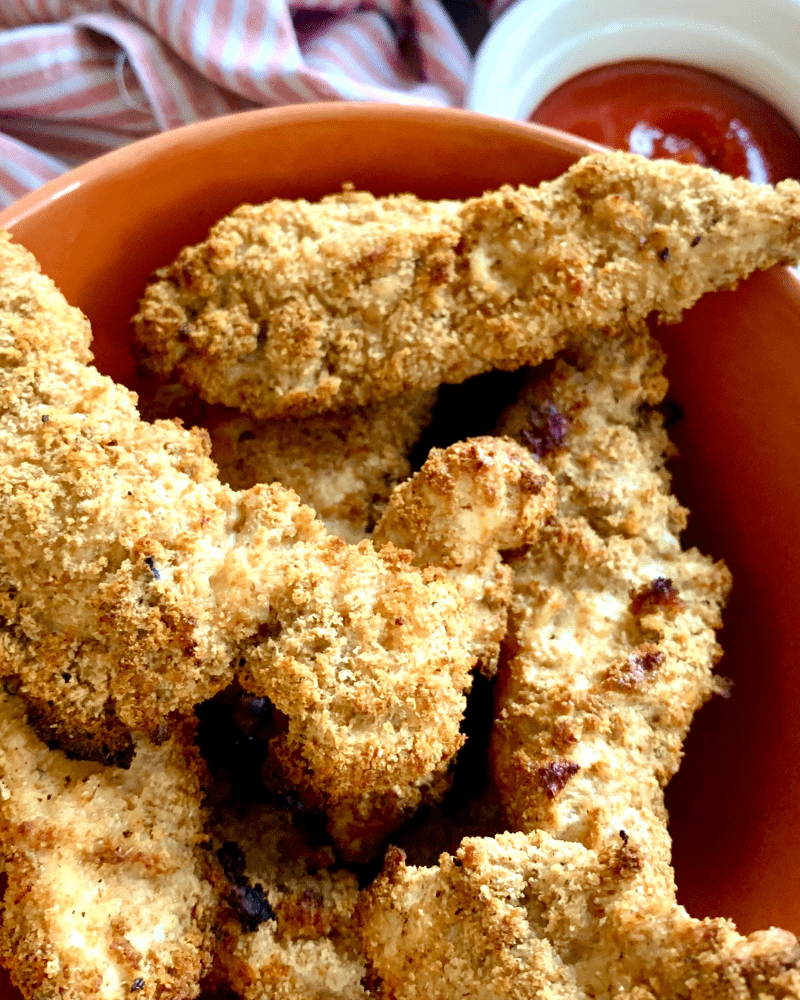
You get a crunchy coating and they’re much the same as the ones your kids might already be used to.
Although they can be a touch messy to make, once you make these once you’ll get into the swing of it.
I find I wash my fingers a few times as I’m making them to get the clumpy eggy breadcrumbs off my hands, it’s easier to then keep bread crumbing!
What’s The Best Chicken To Use?
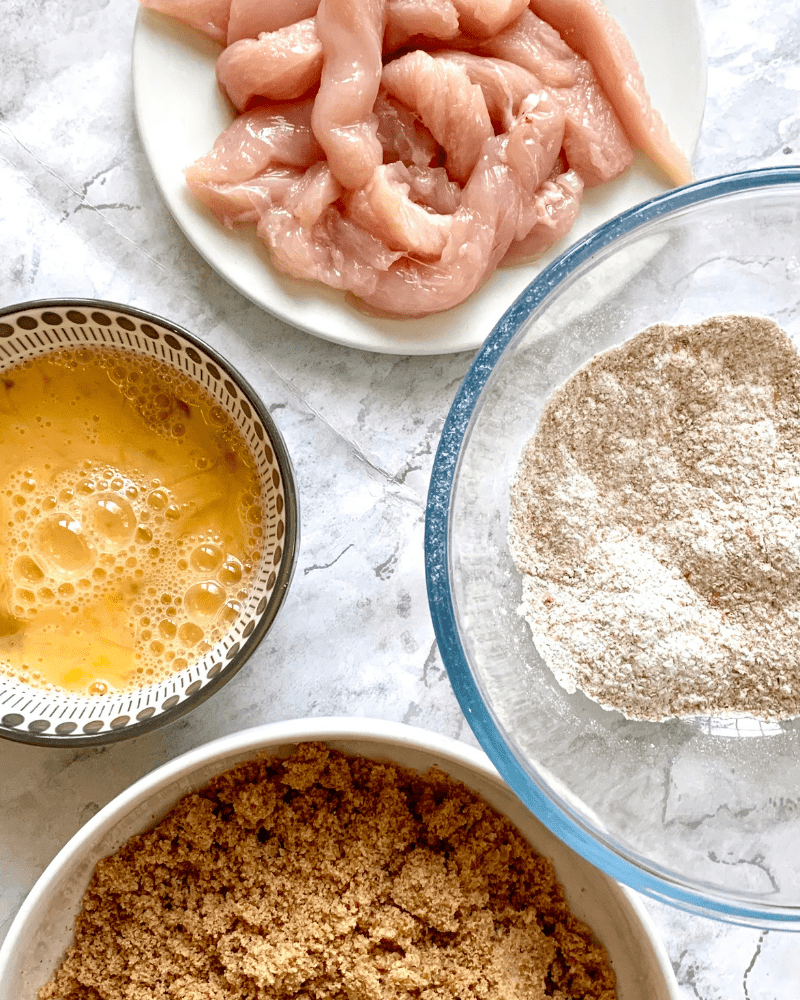
I make these with 100% chicken breast and I think it’s by far the best chicken to use.
While I’m a huge chicken thigh fan, to make these chicken fingers so they’re a copy of the supermarket ones you really need the white, unblemished meat of chicken breast.
This recipe makes enough chicken fingers for 4 kids, less if you’re making these for much bigger kids.
I’ve used 2 medium sized chicken breasts, and Organic.
You can use chicken thigh meat if it’s all you have, but expect there to be some discolouration to the chicken when you take a bite. Or maybe my kids are just overly fussy :)
What To Serve With Chicken Fingers
I serve these chicken fingers with fries and ketchup.
These are a replacement for the ones we used to eat and so yes they’re oven baked and yes they’re made with real chicken breast, but they still feel like the old convenience food we used to eat. And so for this reason I don’t try to make them anything else, so it’s chips and ketchup for us!
You could also serve these with some raw veggie strips, or even on top of some pasta. Or just on their own and savour every bite :)
Make Ahead
You can make these a day or two ahead of time right up to the point where you breadcrumb them, and them put them on a plate and keep them in the fridge until you need them.
At this point, simply put them into a hot oven as you would if following the recipe.
Leftovers
Keep any cooled, leftover chicken fingers in the fridge for up to two days.
They will lose their crispiness if you have them for lunch the following day, but if you want to crisp them up again and have the leftovers hot, pop them into an already heated up oven for a few minutes. Make sure you don’t leave them too long though or you’ll over cook the chicken.
How To Make Healthy Chicken Fingers
Ingredients
- 2 Chicken breasts Cut into strips
- 2 tbsp Flour
- 2 Eggs Whisked
- 3-4 Slices Wholemeal bread Whizzed into breadcrumbs
- Olive oil In a spray
Instructions
- Heat your oven to 210° and line a large sheet pan with parchment paper
- Put your flour, whisked eggs and breadcrumbs into 3 separate bowls, and have the chicken strips ready on a plate. Have all these things near to each other as it can get messy, and the lined sheet pan within reach so you can out the chicken straight onto the pan as soon as they’re breadcrumbed. Have a spare plate out for the floured chicken
- Dip the chicken strips into the flour and make sure all the chicken is covered. Pop each floured strip onto the plate when they’ve been dipped in the flour
- One by one, take a floured piece of chicken and dip it into the egg, then straight into the breadcrumbs making sure all the chicken is covered in breadcrumbs
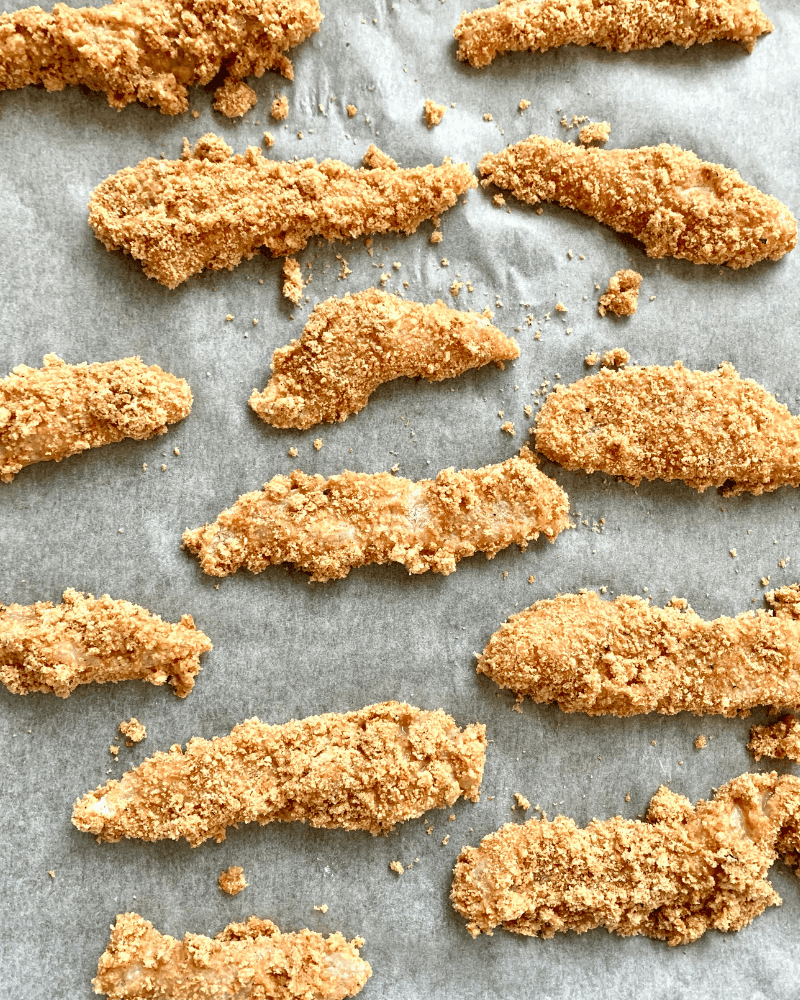
- Put each piece of chicken on the sheet pan as soon as it’s been breadcrumbed
- Repeat until all the chicken is done and then spray the chicken fingers with olive oil so they crisp up nicely
- Bake for 20 minutes, turning them half way through cooking and spraying the other side with olive oil. For very small chicken fingers, adjust the cooking time
- After the cooking time’s up, I cut through the biggest one to make sure they’re cooked through. If they’re not quite done, pop them back in for a few more minutes
- Serve!
Healthy Chicken Fingers Recipe
Healthy Chicken Fingers
Ingredients
- 2 Chicken breasts Cut into strips
- 2 tbsp Flour
- 2 Eggs Whisked
- 3-4 Slices Wholemeal bread Whizzed into breadcrumbs
- Olive oil In a spray
Instructions
- Heat your oven to 210° and line a large sheet pan with parchment paper
- Put your flour, whisked eggs and breadcrumbs into 3 separate bowls, and have the chicken strips ready on a plate. Have all these things near to each other as it can get messy, and the lined sheet pan within reach so you can out the chicken straight onto the pan as soon as they're breadcrumbed. Have a spare plate out for the floured chicken
- Dip the chicken strips into the flour and make sure all the chicken is covered. Pop each floured strip onto the plate when they've been dipped in the flour
- One by one, take a floured piece of chicken and dip it into the egg, then straight into the breadcrumbs making sure all the chicken is covered in breadcrumbs
- Put each piece of chicken on the sheet pan as soon as it's been breadcrumbed
- Repeat until all the chicken is done and then spray the chicken fingers with olive oil so they crisp up nicely
- Bake for 20 minutes, turning them half way through cooking and spraying the other side with olive oil. For very small chicken fingers, adjust the cooking time
- After the cooking time's up, I cut through the biggest one to make sure they're cooked through. If they're not quite done, pop them back in for a few more minutes
- Serve!

