* We sometimes use affiliate links, so we may receive a commission, at no cost to you, if you make a purchase through a link. Check our disclosure for more info.
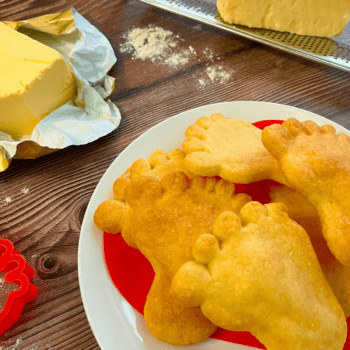
Super stinky Cheesy Feet Biscuits for the kid that likes their food FUN! These buttery biscuits are a savoury snack the kids love and being feet, you have to eat them in pairs, obviously!
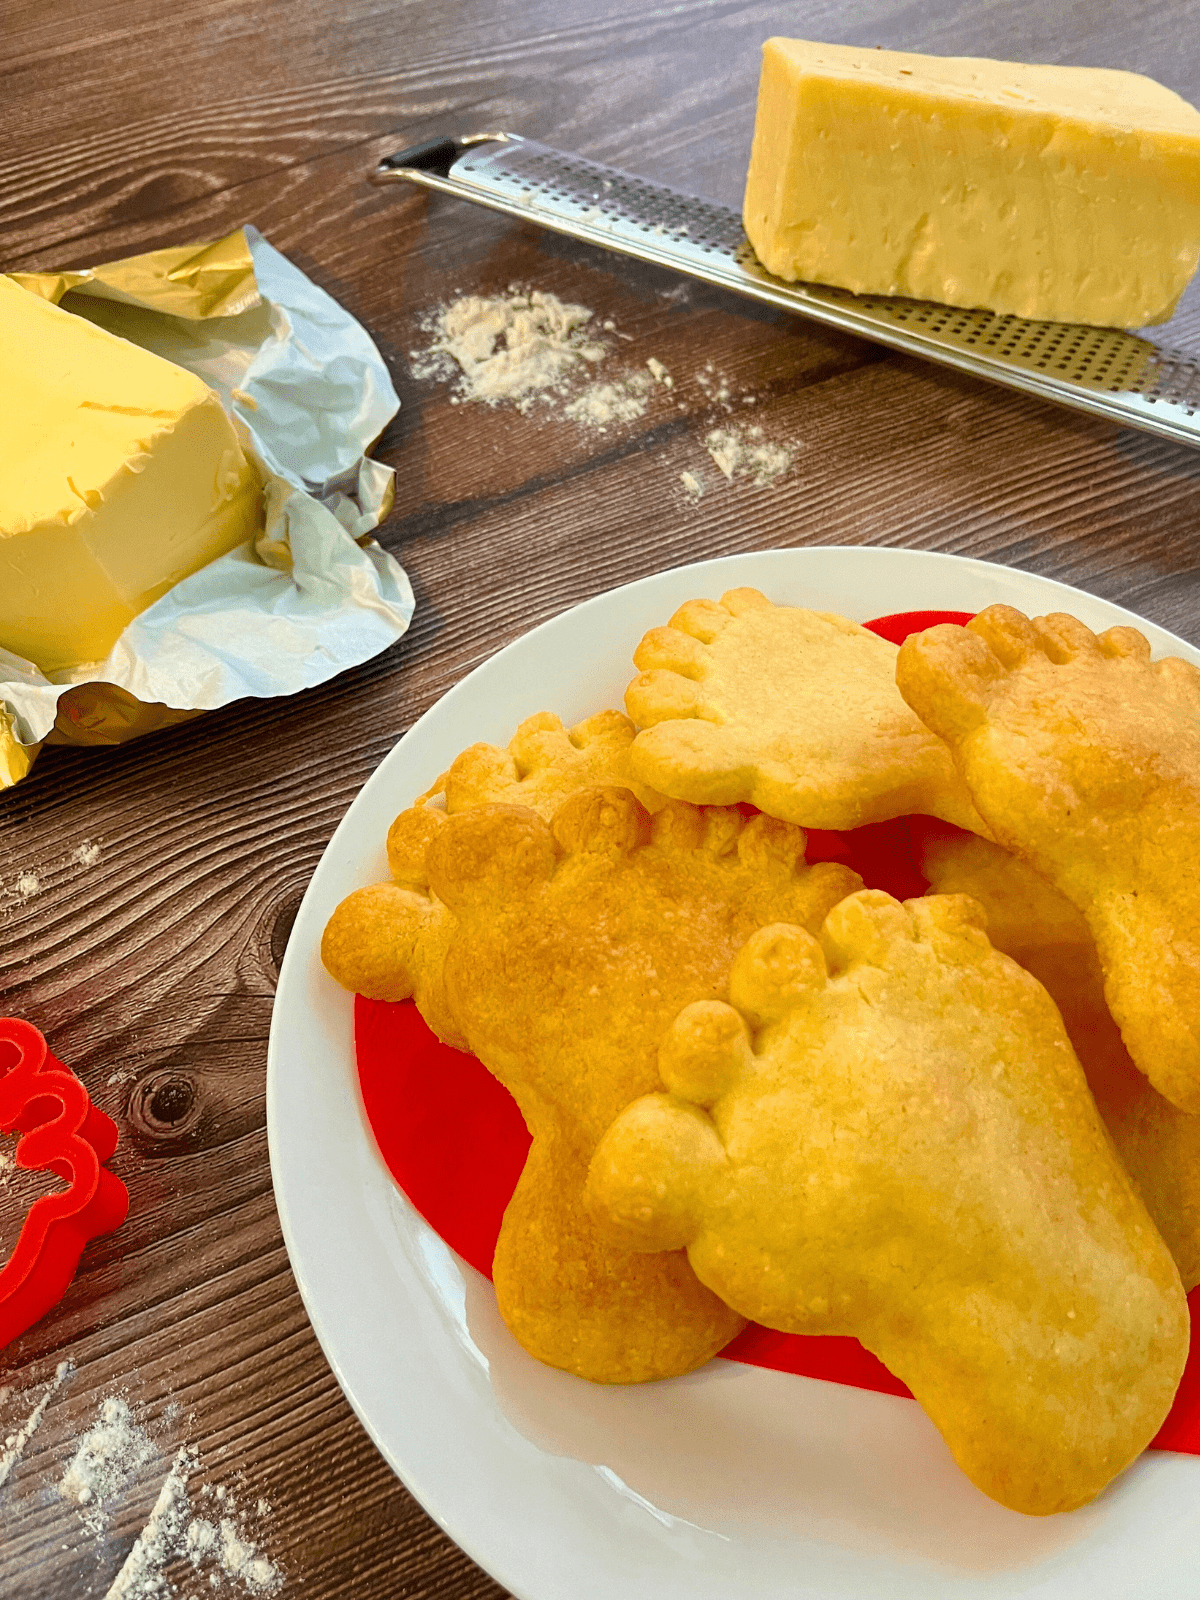
Cheesy Feet Biscuits
Savoury snacks are almost as big a hit in this house as the sweet ones and these cheesy feet biscuits rank pretty high on that list. Being a family of (mostly!) cheese lovers, the natural progression is to start turning our biscuits cheesy too!
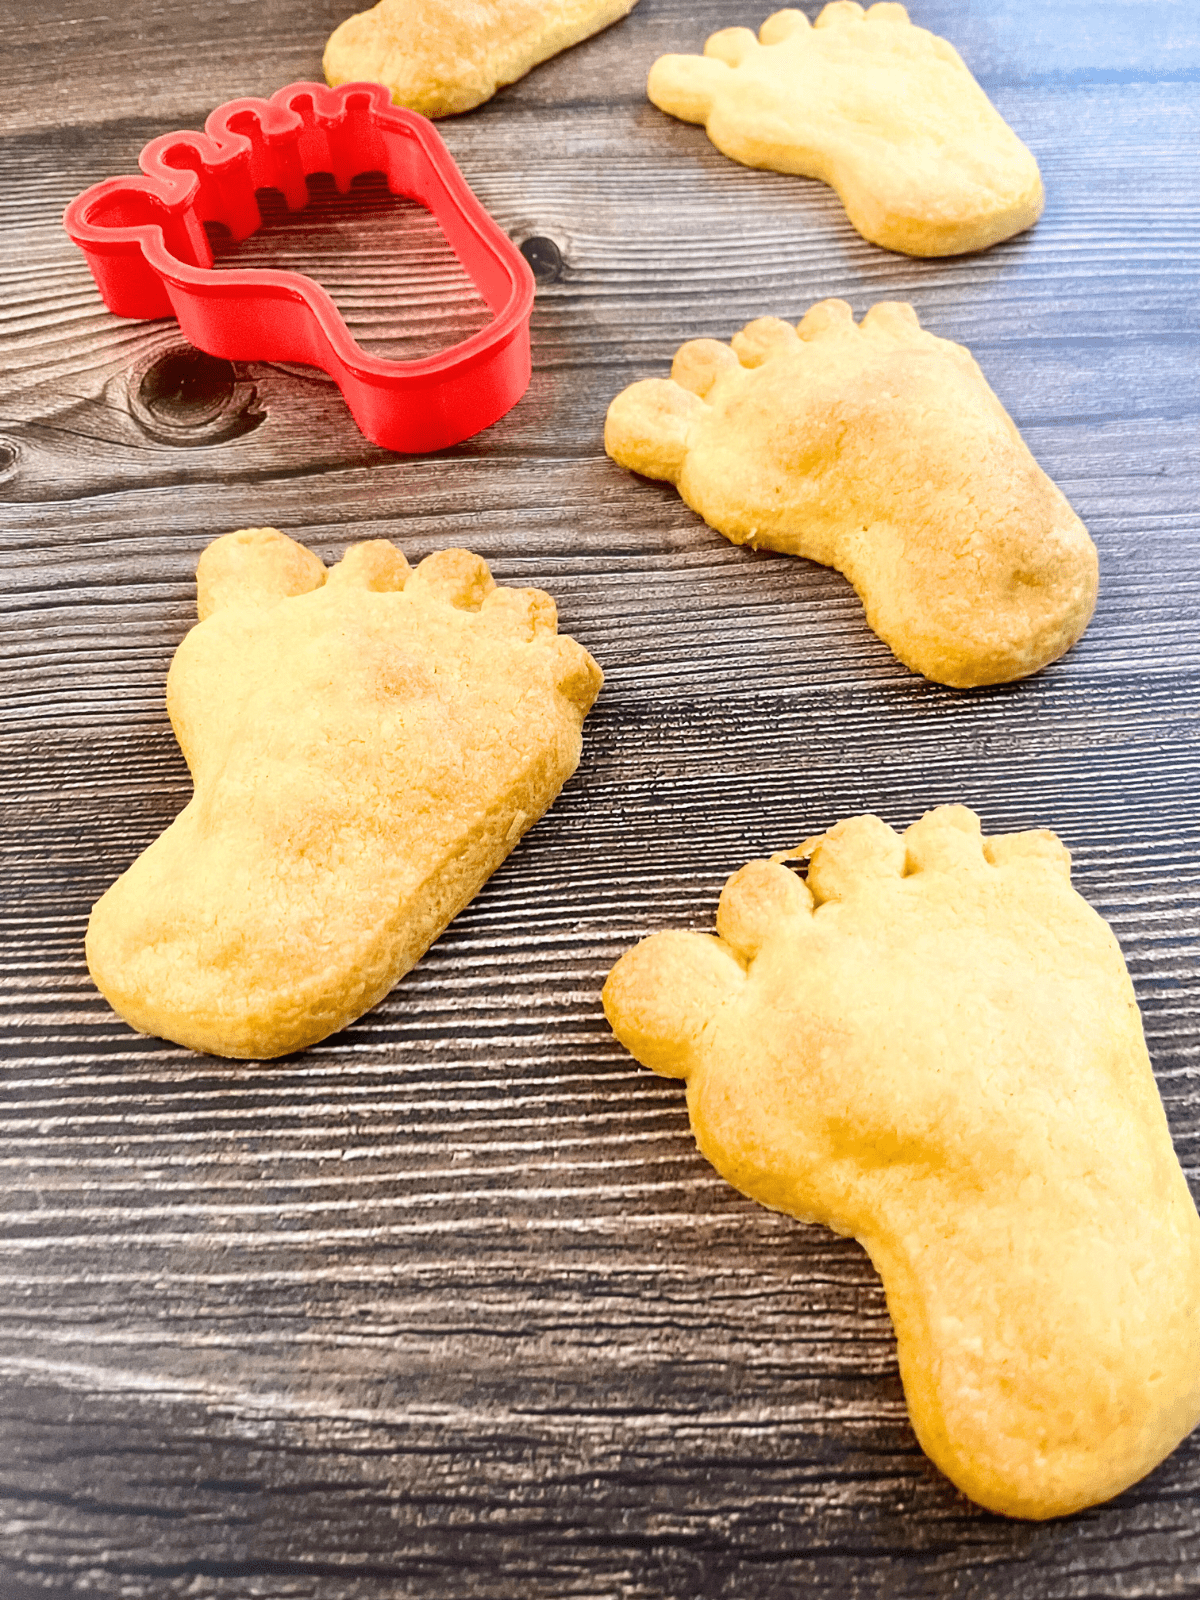
If you have some cheese loving kids please do give these a go, they won’t disappoint. I got my foot biscuit cutter years ago and it’s pretty sturdy so it’s lasted well, but there’s loads you can get, this foot cookie cutter looks similar to mine.
Whether you want bigger feet or smaller feet is entirely optional…we’re greedy by nature so opt for big feet :)
There is nothing complicated about this recipe at all. There’s literally four ingredients and I think that adds to the beauty of it, these are simplicity at it’s best, the cheese flavor is really all you need. You’ll want to be making double batches of these, they won’t last long :)
More Biscuit Recipes Kids Love
- Kid friendly butter biscuits
- Little kid banana biscuits
- Crunchy coconut cookies
- Honey shortbread cookies
- Fresh cherry cookies
- Homemade oatmeal choc chip cookies
Biscuit Ingredients For Cheesy Feet
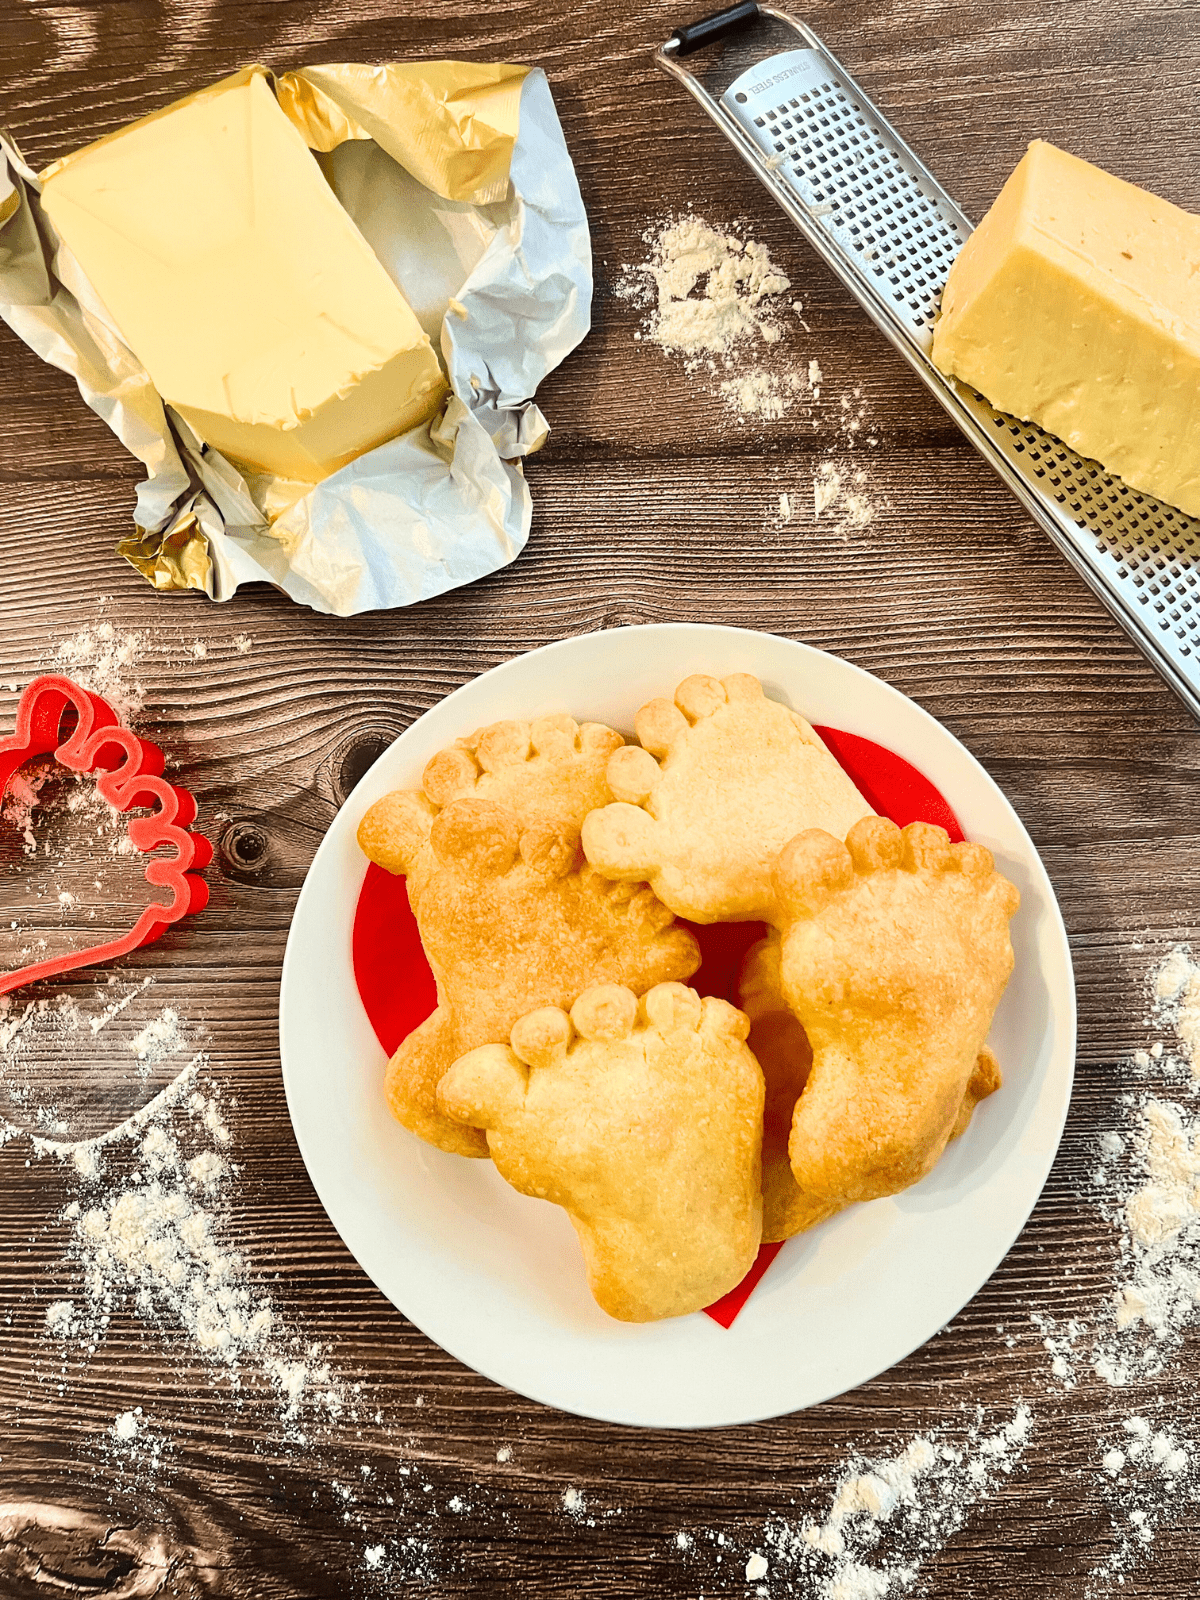
There are 4 ingredients in these biscuits, and 1 of those is optional! The optional ingredient is mustard powder. I like to add it in now the kids are a bit bigger, but I didn’t used to and you don’t have to. It adds some depth to the flavor, but they’re really good without it as well, so take your pick.
Cheese
I use a very mature Cheddar to make these and the flavor is cheesy. You can use any hard cheese you like to make these, Cheddar is the most common hard cheese where I live and so it’s used all the time.
Plus the strength ranges from very mild to vintage (super-duper strong) so it’s easy to match the cheese strength to your kids palette. I don’t add salt to these savoury little snacks as the cheese is salty enough I think. If you want to, you can add a pinch of salt.
Flour
White flour of some description works much better for this recipe than a wholewheat flour. Wholewheat flour, as much as I love it, can be too heavy in biscuits and a lot of baking, but luckily there’s alternatives to pick from.
Mostly I use Einkorn flour to make these but if I’ve run out, white spelt flour also works well if you can’t find Einkorn flour.
Keeping Your Cheesy Feet Biscuits Fresh
All you need is an airtight container to keep your cheesy biscuits in and they’ll stay fresh for up to a week. Cheese flavor can develop after using it for baking, but we think that makes these even more delicious!
I don’t keep these in the fridge as the cheese flavor develops and tastes better then they’re room temperature.

Cheesy Biscuit Recipe Notes
- The ingredients will make a dough which you can then roll out using a floured rolling pin on a lightly floured surface
- I use a fine cheese grater to make sure the cheese melts and cooks evenly in the biscuit
- Soft butter won’t crumble into the dough and you won’t be able to ‘crumb’ it, so your butter needs to be cold
- I roll out the biscuit dough to roughly 5mm. If you roll your biscuits out thicker or thinner than I do, adjust the cook time to allow for this
- If your dough is too dry and this can happen because of different flour types, add a teaspoon of milk to loosen it until it becomes a workable dough. Do this slowly though, as you want the dough to be firm, but not crumbly. Use a wooden spoon to fold the milk into the mixture and then stir before you start to form the dough. You can also use cold water or buttermilk if you have it
- If your feet get stuck in the toes (it happens!) then gently push down in the center of the cutter and use a knife to ease the dough away from each toe!
- Keep an eye on the biscuits as they cook, they can burn very quickly and the timings I’ve added are a guide. Every oven is slightly different and so yours may take slightly less time to cook than mine
How To Make Cheesy Feet Biscuits
Ingredients
- 1 Cup Flour All purpose flour, Einkorn, white spelt flour
- 1 Cup Cheese Cheddar, finely grated
- ½ Cup Butter Cold, diced
- ¼ tsp Mustard powder Optional
Instructions
- Heat your oven to 170c or 330f and line a baking tray with parchment paper
- In a large mixing bowl start with the dry ingredients. Add your flour and the mustard powder if you’re using it
- Your butter needs to be cold, and then diced into small cubes. Add it to the flour mix bowl and use your finger tips to work it into the flour until you have a mixture that resembles crumbs
- Mix the grated cheese into the bowl and combine it well until a dough forms
- Knead the dough on a floured surface until it’s smooth and workable. Roll it out, cut your feet biscuit shapes out and place them on the baking tray, slightly apart to give them room to expand
- Bake for 8-10 minutes, they should still be pale when they’re cooked. Remove them from the oven and allow them to cool down for 10 minutes and then transfer them to a wire rack to fully cool. They’ll firm up as they cool down
- Eat or store them!
Cheesy Feet Biscuit Recipe
Cheesy Feet Biscuits
Ingredients
- 1 Cup Flour All purpose, Einkorn, white spelt flour
- 1 Cup Cheese Cheddar, finely grated
- ½ Cup Butter Cold, diced
- ¼ tsp Mustard powder Optional
Instructions
- Heat your oven to 170c or 330f and line a baking tray with parchment paper
- In a large mixing bowl, add your flour and the mustard powder if you're using it
- Your butter needs to be cold, and then diced into small cubes. Add it to the flour mix bowl and use your finger tips to work it into the flour until you have a mixture that resembles crumbs
- Mix the grated cheese into the bowl and combine it well until a dough forms
- Knead the dough on a floured surface until it's smooth and workable. Roll it out, cut your feet biscuit shapes out and place them on the baking tray, slightly apart to give them room to expand
- Bake for 8-10 minutes, they should still be pale when they're cooked. Remove them from the oven and allow them to cool down for 10 minutes and then transfer them to a wire rack to fully cool. They'll firm up as they cool down
- Eat or store them!

